 Save
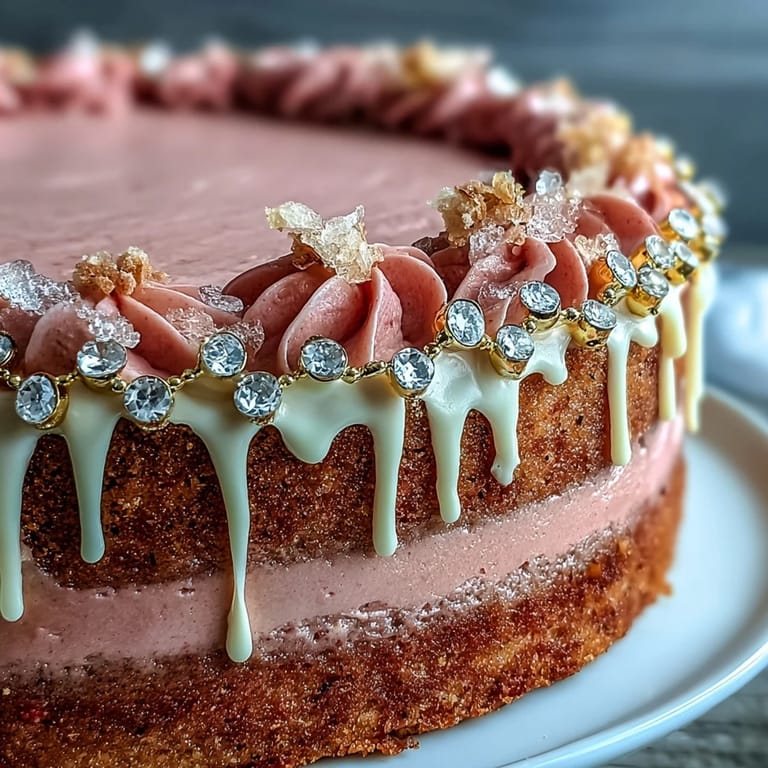
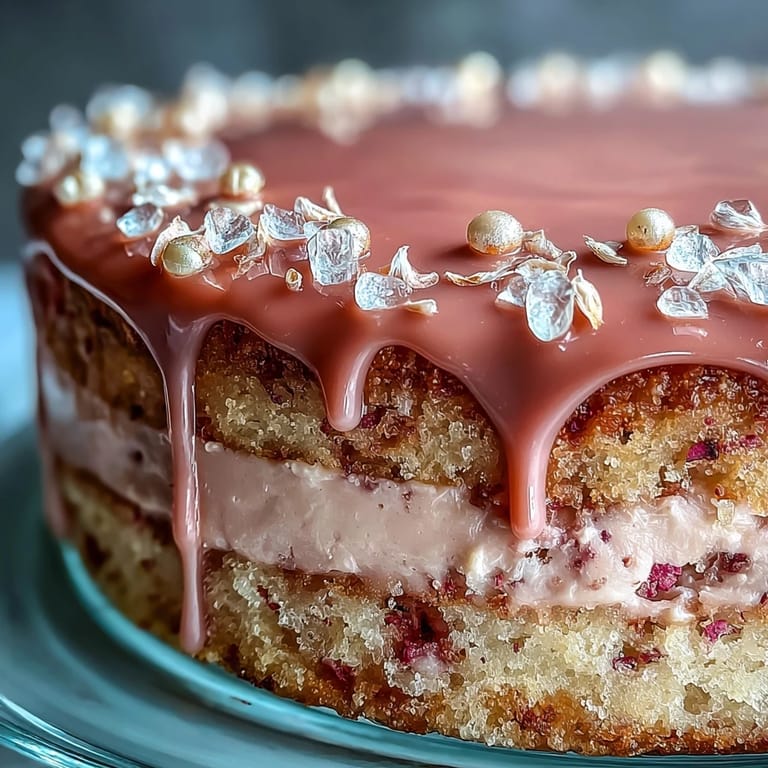
Save The moment I slid this blush-pink rosé velvet cake out of the pan, my kitchen was filled with the softest tang of wine mixed with the warmth of vanilla and cocoa. Not long ago, I decided to throw a bridal shower for my best friend, hoping to impress with something that looked as festive as the day felt. As soon as the first gold drip caught the light, I knew I had a centerpiece. Building layers of delicate flavor and playful color felt less like baking and more like orchestrating a proper celebration. There's something disarmingly joyful about gilding cake in edible gold luster, even if you’re just in your pajamas on a Saturday morning.
The first time I baked this cake for friends, I underestimated just how much laughter would erupt over painting the gold drip—everyone wanted a turn with the tiny brush. Somehow, that little touch of edible glam made even the skeptics at the table break into a smile. I still find flecks of gold in my utensils drawer months later, and it always brings me back to that afternoon of giggles and second helpings. The effort that went into it was real, but so was the sense of fun. That’s the magic of this cake: it creates new memories every time.
Ingredients
- All-purpose flour: Sifting helps keep the crumb tender and airy—don’t skip this for a fluffier result.
- Granulated sugar: Creaming it patiently with butter is key to a light, smooth base.
- Baking soda & baking powder: Combined, they keep each layer tall and even-colored.
- Salt: Just a touch sharpens up the cake’s subtle flavors.
- Unsweetened cocoa powder: Natural cocoa adds depth without overpowering the blush hue.
- Unsalted butter, softened: Letting it truly soften ensures the batter comes together without lumps.
- Buttermilk, room temperature: Its gentle tang and acidity help the cake stay moist and rich.
- Rosé wine: Use something fruity—you’ll notice the difference, especially in the aroma.
- Large eggs, room temperature: Crack them into a bowl first to avoid surprise shells.
- Vanilla extract: Lends warmth and smoothness, balancing the floral notes.
- White vinegar: Just a splash intensifies both color and tenderness.
- Pink food coloring gel: Go slowly—it’s easy to get the perfect blush shade with just a few drops.
- Cream cheese, softened: Blends silkily into frosting and balances cake’s sweetness.
- Powdered sugar, sifted: Sifting prevents that lumpy frosting nightmare.
- Heavy cream: Mixed with white chocolate for that dreamy, smooth drip.
- Edible gold luster dust & vodka (or clear extract): A little goes a long way for dazzling, paintable gold finish.
Tired of Takeout? 🥡
Get 10 meals you can make faster than delivery arrives. Seriously.
One email. No spam. Unsubscribe anytime.
Instructions
- Get Ready to Bake:
- Set the oven to 350°F (175°C), grease and line three 8-inch pans, and assemble your tools so you move with ease.
- Whisk and Sift:
- In a medium bowl, sift together the flour, cocoa, baking soda, baking powder, and salt—the mix should look even and airy.
- Cream Butter and Sugar:
- Beat the softened butter and sugar until pale and fluffy; listen for the change in sound as air gets whipped in.
- Add the Eggs:
- Mix in eggs one by one, scraping the bowl down and breathing in that sweet, creamy scent.
- Blend Wet Ingredients:
- Pour in buttermilk, rosé, vinegar, and vanilla, mixing until just combined and blushing pink streaks swirl through the batter.
- Make it Blush:
- Add a little pink food coloring at a time, stopping when you reach a delicate, rosy hue that feels right for the occasion.
- Divide and Bake:
- Split the batter evenly into the prepared pans and smooth the tops—tap lightly to pop any bubbles before sliding into the oven.
- Cool Completely:
- Bake for 30–35 minutes until a toothpick comes out clean, then cool 10 minutes before turning cakes onto racks so they don’t steam in their own heat.
- Frosting Time:
- Beat butter and cream cheese together until smooth, add powdered sugar, then blend in rosé, vanilla, and a pinch of salt for a pillowy finish.
- Assemble and Chill:
- Level the cooled cakes if needed, layering them with frosting, then crumb coat and chill before finishing with a generous frost—cold layers stay put better.
- Gold Drip Magic:
- Microwave white chocolate and cream until smooth, let cool slightly, then drip gently over the cake's edges and let set.
- Paint on the Gold:
- Mix luster dust with vodka or extract, and, using a food-safe brush, softly paint the drip for the glamorous golden touch.
- Chill for the Finale:
- Let the cake rest in the fridge at least 30 minutes to help those layers set and the gold glisten just right.
 Save
Save 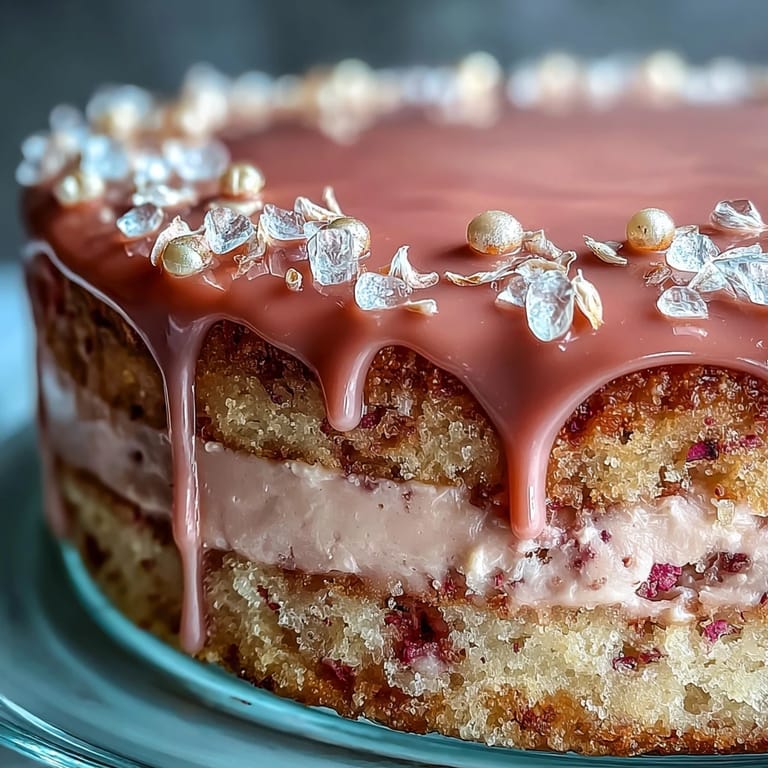 Save
Save I’ll never forget the quiet moment, just as the party started, when my friend noticed the cake standing tall on the table among candles and glasses of rosé. It suddenly felt like more than dessert; it was a sign of love and intention, celebratory in exactly the way I’d hoped.
Decorating Like a Pro
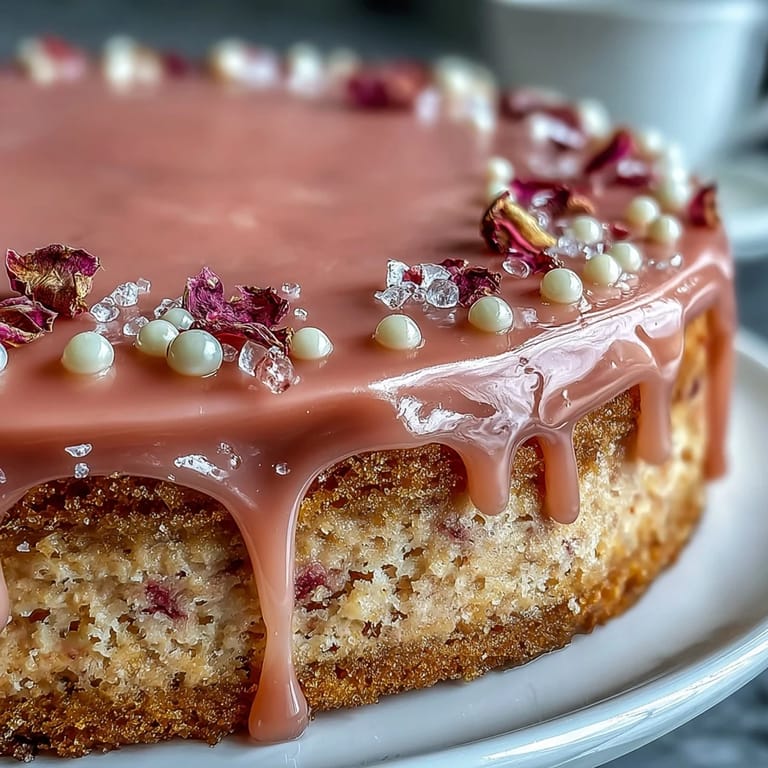
The real delight is letting yourself get a bit messy—whether it’s brushing on luster dust or arranging edible flowers, perfection isn’t the point, sparkle and personality are. I’ve found that gold leaf and fresh berries scattered at the last minute look like a million bucks but couldn’t be easier, and guests love to help out with the finishing touches.
Swaps, Substitutes, and Non-Alcoholic Tricks
I tried making this for a group who preferred no alcohol and discovered that sparkling grape juice keeps the cake just as damp and delightful. If you don’t have gold dust, even a dusting of powdered sugar or a few edible petals makes each slice feel special, especially when served on mismatched vintage plates.
Make-Ahead Secrets for Stress-Free Celebrations
Baking the cake layers a day ahead, wrapping and chilling, means you have zero rush on party day and more time for table setting or sneaking a glass of rosé. Frosting can be whipped the night before and just fluffed again before spreading, making last-minute assembly feel breezy.
- Store leftovers in the fridge, well-covered for up to three days.
- Transport the assembled cake on a non-slip mat to avoid slick disasters.
- Let the frosted cake sit at room temp 20 minutes before slicing for best texture.
 Save
Save 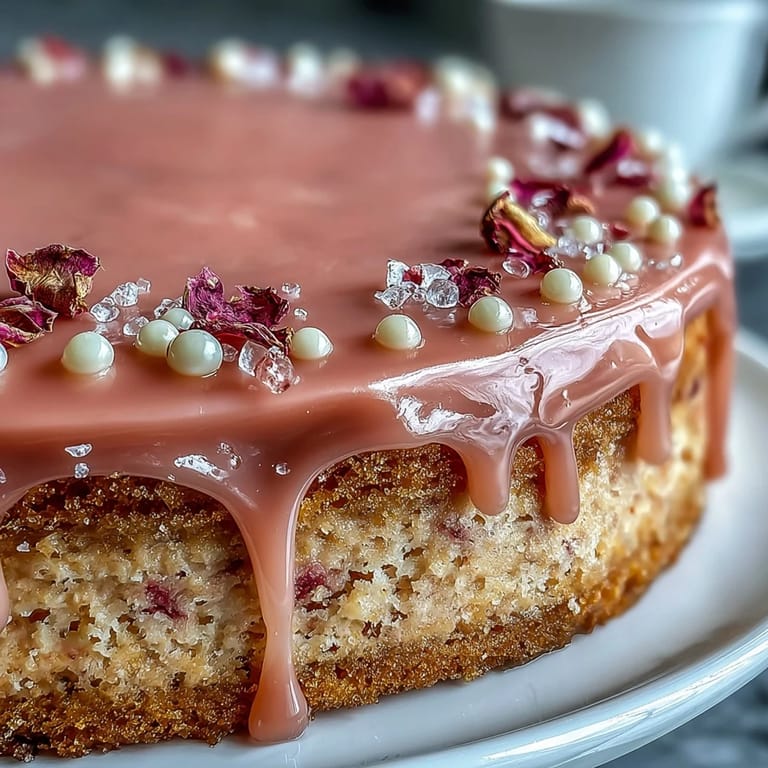 Save
Save I hope making this cake brings you as much joy as it has in my kitchen, whether for a celebration or simply to indulge in something a little fancy. Every slice is a small toast to beauty, fun, and friends at your table.
Recipe Questions & Answers
- → How do I get an even blush color?
Use a concentrated pink gel and add it gradually, mixing thoroughly between additions. Rosé in the batter will deepen the hue, so add color slowly until the desired blush is reached under natural light.
- → Can I substitute the rosé for a non-alcoholic option?
Yes—sparkling grape juice or a reduced fruit juice works well. Reduce any extra sweet liquid slightly and taste the frosting before finishing to balance sweetness.
- → How do I achieve a controlled gold drip?
Cool the white-chocolate and cream mixture until slightly thickened so it flows slowly. Chill the crumb-coated cake first and apply the drip with a spoon or squeeze bottle, testing flow on the side before the final pass.
- → What’s the best way to level layers and stack neatly?
Trim domes with a serrated knife or leveler, place layers on a turntable, spread even amounts of frosting between layers, and use a bench scraper for a straight-sided finish.
- → How can I intensify the rosé flavor without soggy layers?
Brush a light coat of reserved rosé onto cooled layers before filling; avoid soaking. Fold a small amount of rosé into the frosting rather than adding large volumes to the batter.
- → Can components be made ahead of time?
Bake layers a day ahead and wrap tightly. Make frosting and the white-chocolate drip in advance; assemble and decorate the day of for best texture and appearance.