 Save
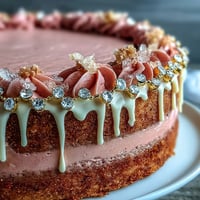
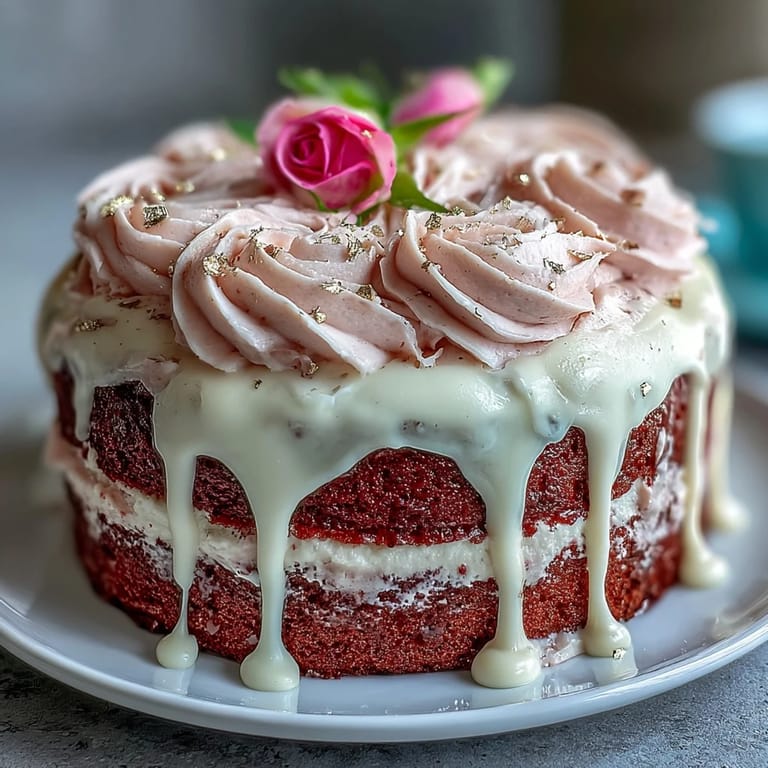
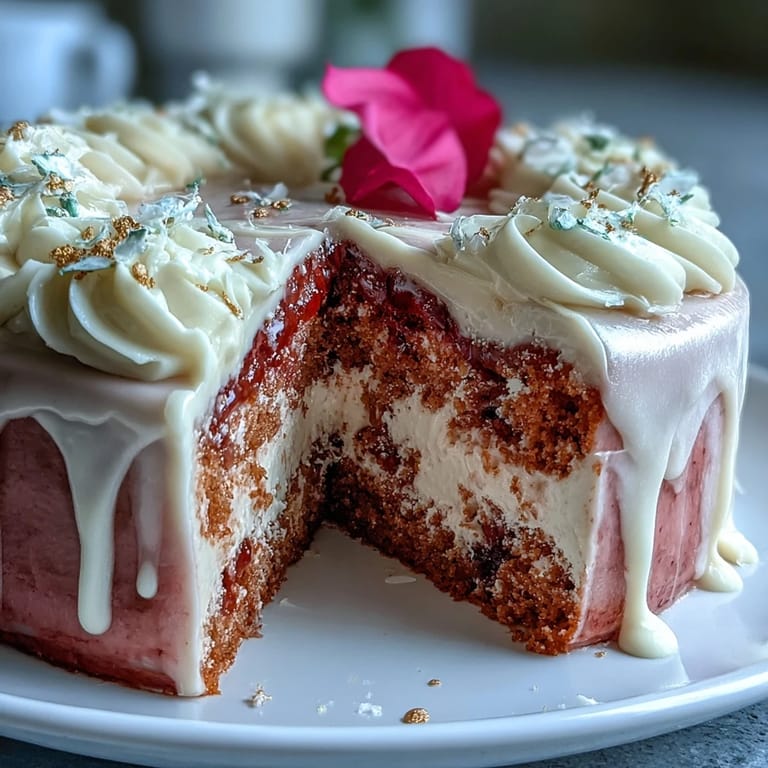
Save The first time I baked a rosé velvet cake, the entire kitchen smelled delicately floral and sweet, a little like someone had uncorked a bottle of celebration right there next to the oven. The sunlight coming through the window shimmered off the bowl, and I couldn't help but feel a flutter of excitement as the batter swirled into that perfect shade of rose-pink. I’ve always loved the little thrill of painting gold drips on a cake, and I still hold my breath just before the first drop falls. The moment sparkles up the process into something a bit extravagant, a bit magical—exactly the vibe I wanted for this bridal shower centerpiece.
I remember the bridal shower where I first served this cake: laughter floated between conversations about wedding vows, and the gold shimmer on the cake caught every guest's eye as soon as it hit the dessert table. No one could believe I’d made the whole thing at home—people actually hovered near the cake, forks at the ready, when it was time to slice.
Ingredients
- All-purpose flour: Sift it for extra-light crumb and always level the scoop for consistency.
- Granulated sugar: Brings that gentle, stable sweetness—don’t skimp, it helps with the cake’s tender texture.
- Baking soda: Gives real lift, just be sure it’s fresh or you’ll lose the airy structure.
- Fine salt: Balances all the sweet notes and makes flavors pop.
- Cocoa powder (unsweetened): Just a hint boosts decadence without overpowering the rosy notes.
- Vegetable oil: Makes for an exceptionally moist, soft crumb (great for make-ahead cakes, too).
- Large eggs, room temperature: Room temp eggs blend better, which you’ll thank yourself for when your batter is smooth as silk.
- Buttermilk, room temperature: The secret tang that brightens every bite—don’t substitute regular milk!
- Rosé wine: Dry or sparkling, it brings the iconic rosy undertones and a signature aroma.
- Vanilla extract: Rounds out the floral notes and ties together the cake’s flavor.
- White vinegar: Reacts with cocoa for that velvet cake essence—most guests can never guess this is the 'secret' ingredient.
- Pink or rose gel food coloring: A little at a time until you reach that blushing shade you want—it’s so easy to go too bright!
- Unsalted butter, room temperature: For the buttercream: soft, but not oily, makes for dreamy clouds of frosting.
- Powdered sugar, sifted: Avoid lumpy frosting and create the perfect smooth swirl.
- Rosé wine (for buttercream): Just a splash for subtle complexity; add more for a punch, less if you want it faint.
- Pinch of salt (buttercream): Trust me, this reins in the sweetness and makes the flavors linger.
- White chocolate chips: The foundation of the gold drip; make sure they’re good quality for easy melting.
- Heavy cream: Combines with the chocolate for a lush, glossy drip that won’t seize up.
- Edible gold luster dust: Don’t use craft versions—they must be labeled edible, especially for special occasions.
- Vodka or clear lemon extract: Alcohol evaporates, so the gold dries fast, leaving only the shimmer.
Tired of Takeout? 🥡
Get 10 meals you can make faster than delivery arrives. Seriously.
One email. No spam. Unsubscribe anytime.
Instructions
- Prep and Preheat:
- Set your oven to 350°F (175°C) and grease three 8-inch cake pans—parchment really ensures no sticking later.
- Sift and Mix Dry Ingredients:
- Combine flour, sugar, baking soda, salt, and cocoa powder in a big bowl, sifting to air them out for that light crumb.
- Blend the Wet Mix:
- In a separate bowl, whisk oil, eggs, buttermilk, rosé, vanilla, and vinegar together until the mixture looks creamy and a little frothy.
- Combine and Tint:
- Pour wet into dry and stir just until blended; add food coloring a drop at a time, swirling gently until your batter is blush-pink and evenly colored.
- Bake the Cakes:
- Divide evenly among your tins, pop them in the oven for 30–35 minutes, and wait for that springy top and a clean toothpick.
- Cool Down:
- Let them rest in the pans for 10 minutes before carefully turning out onto racks—patience now saves headaches later.
- Make the Buttercream:
- Beat butter until cloudlike, then add powdered sugar in small portions, finally streaming in rosé and vanilla; keep beating till it’s glossy and soft.
- Frost and Layer:
- Level cakes if needed, then frost between layers and stack; apply a crumb coat, chill for 20 minutes, then finish with a generous, swoopy layer of buttercream.
- Prepare the Gold Drip:
- Melt chocolate and cream together, cool it a few minutes, then stir gold luster with vodka to make your shimmer paint.
- Drip and Decorate:
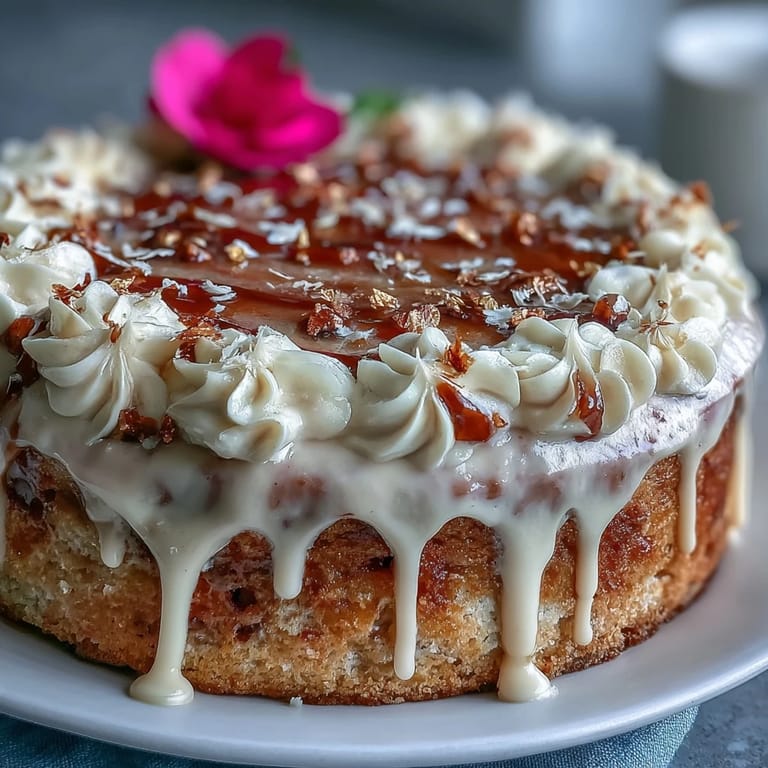
- Drizzle chocolate drip around the cake’s edge so it flows gently down, then, once set, paint the drips gold for that dazzling effect.
- Final Flourishes:
- Scatter a few edible gold flakes or rose petals for the ultimate showstopper if you’re feeling extra fancy.
 Save
Save When my best friend took her first bite, there was a quiet moment—just a smile and a small hum of happiness—before the entire table exploded with questions and compliments. It didn’t just taste like a cake; it felt like a celebration baked right into each forkful.
Making Ahead for Special Occasions
I’ve learned this cake is a lifesaver when you bake it a day before; the flavors develop beautifully overnight, and it actually slices more cleanly the next day. Just keep it chilly and away from strong-smelling foods in the fridge, then bring it out to room temp an hour before serving so the buttercream is soft and dreamy.
Troubleshooting the Gold Drip
If the white chocolate seizes or goes grainy, don’t panic—just add a few drops of warmed cream and whisk until smooth again. I always test my drip on a spare plate before committing to the cake, and that tiny step has saved my nerve (and cake) more than once.
Decorating Like a Pro, Even if You’re Not
Don’t be afraid to go bold with gold—brush it on generously for streaks, or dab lightly for soft shimmer, depending on your vibe that day. Fresh berries, rose petals, or even a dusting of extra luster dust make this cake wedding-worthy in minutes.
- Use a small offset spatula for precise, smooth edges.
- Wear kitchen gloves while painting gold to avoid finger smudges.
- Store leftovers well-covered so they don’t pick up fridge odors.
 Save
Save This cake isn’t just pretty—it’s a guaranteed conversation starter. Enjoy every sparkly slice and the joyful moments it sparks.
Recipe Questions & Answers
- → Can I use sparkling rosé instead of still rosé?
Yes. Sparkling rosé adds a subtle effervescence and brightens floral notes; reduce any extra liquid elsewhere if the wine is very bubbly. Taste as you go to keep the buttercream consistency balanced.
- → How do I get a stable rosé buttercream?
Beat room-temperature butter until very light, add sifted powdered sugar in batches, then slowly incorporate rosé and a pinch of salt. Chill briefly if it becomes too soft and adjust sugar or wine to reach spreading consistency.
- → What ensures a clean, controlled gold drip?
Chill the cake after a thin crumb coat so the drip sets quickly. Use cooled but pourable white chocolate ganache, apply sparingly at the edge, and test a small drip before covering the whole cake. Paint with edible gold luster once the drip is set.
- → Can I prepare elements a day ahead?
Yes. Bake and cool layers, store wrapped in the refrigerator, and make buttercream ahead. Assemble and chill overnight; bring the cake to near room temperature before serving for the best texture.
- → Is there a non-alcohol alternative for the gold paint?
Replace vodka with a few drops of clear lemon extract or a neutral, food-grade glycerin to make an edible gold paint. Always use food-safe luster dust and avoid non-edible metallics.
- → How do I keep the pink color vibrant without bleeding?
Use gel or paste food coloring for concentrated color with minimal added liquid. Mix coloring into the batter thoroughly and avoid adding extra acidic liquids that can alter hue; a proper crumb coat also locks layers in place during decorating.